
How to Recover Photos from a Corrupted SD Card
In this article
To recover photos from a corrupted SD card, stop using the card immediately, then use photo-recovery software to read it through a card reader, or send it to a lab if the card is physically damaged. The corrupted file system is usually intact underneath; writing new data is what makes photos truly unrecoverable.
- Stop and remove the card: don't take more photos, save, or let the device "repair" it.
- Read it on a computer through a card reader and run photo-recovery software (e.g. PhotoRec) to scan for image files.
- If the card is cracked, bent, or unreadable, don't force it: that's a job for a lab.
For a damaged or unreadable card, professional SD card data recovery can read the chip directly.
The sinking feeling when your camera or computer displays an "SD Card Error" message is a familiar one for many. Your immediate reaction might be to panic or reinsert the card, but the most critical action you can take right now is to stop using the card immediately.
Power down the device, remove the card, and set it aside. Every attempt to access, view, or write new data to a failing card risks overwriting the very photos you are trying to recover. This is the first and most important step in any professional data recovery process.
First Steps: Assessing the Type of SD Card Failure
With the card safely removed, the next step is to diagnose the problem without causing further damage. SD card failures almost universally fall into two categories: logical or physical. Identifying which type of failure you are facing is crucial, as it dictates the appropriate recovery method and whether a DIY approach is even feasible.
Logical vs. Physical Failure: Understanding the Difference
A helpful analogy is to think of a book. A logical failure is like the table of contents becoming corrupted; the pages (your photos) are still intact, but the system that organizes and points to them is broken. A physical failure is like the book itself being torn, water-damaged, or having its binding destroyed.
- Logical Failure: This is a software-level issue where the card's file system has become corrupted. This can happen from premature removal, sudden power loss during a write cycle, or a software bug. Your computer may still recognize the card and assign it a drive letter, but it might appear empty, show an incorrect capacity, or prompt you to format it. These cases are often recoverable with specialized software, provided no physical damage is present.
- Physical Failure: This indicates a hardware problem with the card's components. The failure could be in the controller chip (the card's "brain"), the NAND memory chips that store your data, or the physical connections. If a computer does not detect the card at all, or if the system freezes upon insertion, a physical failure is the most likely cause.
This flowchart illustrates the professional diagnostic process for determining the nature of the failure.
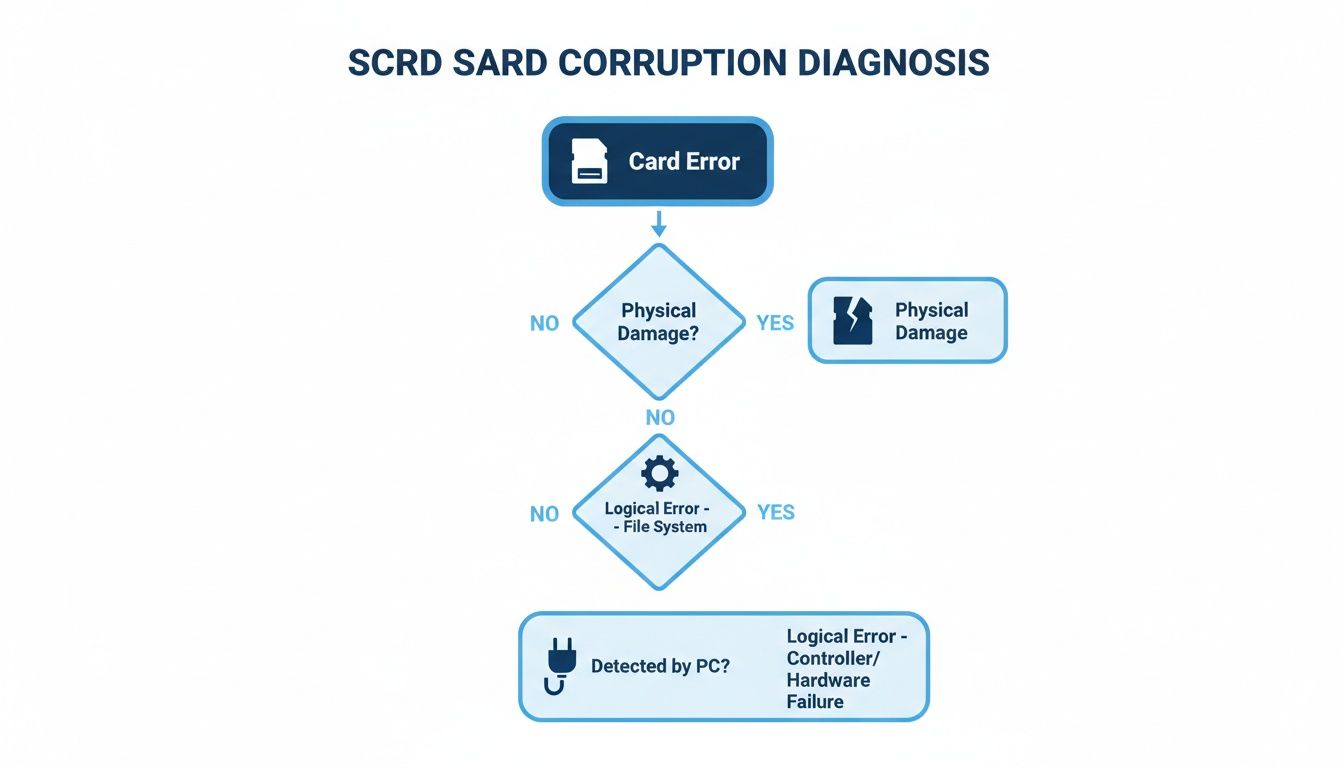
As the diagram shows, if the card is physically damaged or not detected by any system, software-based recovery tools are ineffective.
Decoding Common Failure Symptoms
The specific error messages and behaviors the card exhibits are vital diagnostic clues. In our lab, the initial symptoms often tell a detailed story about the underlying failure.
Common SD Card Errors and Their Implications
This table outlines common symptoms, their likely causes, and the recommended professional course of action.
| Error Message / Symptom | Likely Cause | Initial Recommendation |
|---|---|---|
| "SD card is not formatted. Do you want to format it now?" | File system corruption (logical failure) | Do not format. Proceed with creating a forensic image for software recovery attempts. |
| "SD card is damaged. Try reformatting it." | Can indicate logical corruption or early-stage physical failure. | Cease all use. Attempt to read in a different, known-good card reader. If it still fails, treat as a high-risk physical failure. |
| Card appears empty or files are unreadable. | Logical file system corruption or virus infection. | Stop use immediately. Prepare for a software-based recovery attempt from a forensic image. |
| Card not detected or recognized by any computer. | Typically a physical failure (controller chip, connections, internal crack). | Try a different card reader and USB port as a basic test. If still undetected, professional lab intervention is required. |
| Read/write speed is extremely slow or transfers fail. | Degrading NAND memory cells (physical failure). | Immediately back up any accessible data, then stop using the card permanently. Continued use will cause irreversible data loss. |
If your computer assigns a drive letter to the card - even if it reports the file system as "RAW" or empty - you are likely facing a logical failure. This is the only scenario where a DIY software recovery attempt may be successful.
From the MDRepairs Lab: If a computer fails to detect the SD card, or if it reports a capacity of 0MB or another incorrect small size, this almost always signifies a physical failure of the controller chip. No software tool can resolve this condition.
At this juncture, a critical decision must be made. For logical issues, you can proceed with creating a forensic image, which we cover next. For any signs of physical failure, the only safe and effective option is to consult a professional data recovery laboratory. Technicians at MDRepairs use specialized hardware to bypass the failed controller and read the memory chips directly - a delicate, lab-exclusive procedure. For a clear, free consultation, our nationwide mail-in service is available. You can also explore our data recovery services in Texas and other locations to understand our process for these complex cases.
Create a Forensic Image Before You Do Anything Else
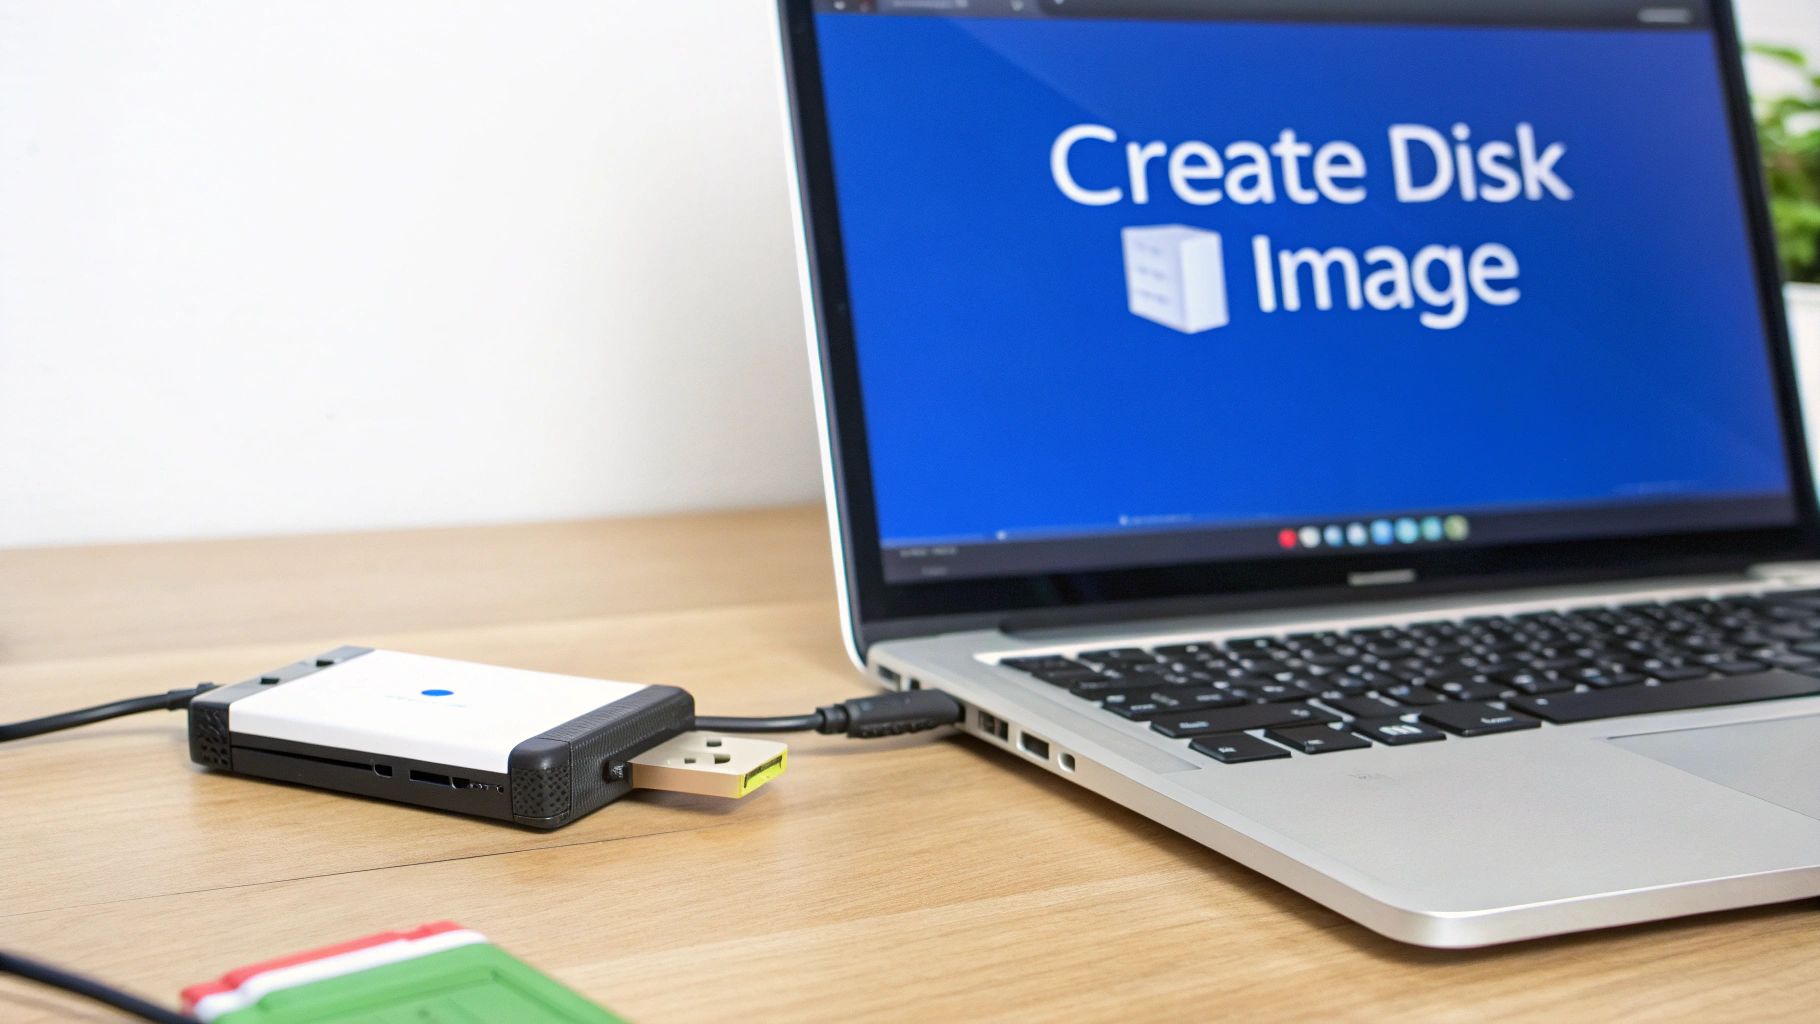
Attempting to recover photos directly from a corrupted or failing SD card is extremely risky. In a professional data recovery lab like MDRepairs, the first and most critical step is always to create a sector-by-sector disk image. Any direct operation on a potentially failing device can cause further degradation and permanent data loss.
A forensic image is not a simple file copy. It is a perfect, bit-for-bit clone of the entire SD card. This image captures all data - allocated files, deleted files, file system structures, and unallocated space. The result is a single, stable file on a healthy drive that serves as a safe digital duplicate of your card, frozen at its current state.
Why an Image Is a Non-Negotiable Safety Precaution
Working from a disk image is the only professionally sound method for DIY recovery. Once the image is created and verified, the original SD card should be stored safely. All subsequent recovery attempts must be performed only on the image file. This prevents further stress on the potentially fragile card, preserving its state in case professional lab intervention is required later.
Recovery software must scan the entire device, a process that can take hours. If the card has degrading memory cells or an unstable controller, this intensive read process can be the final event that causes catastrophic failure. An image captures the data before this stressful operation begins.
A Note From Our Lab: A common scenario involves clients who have run multiple recovery programs directly on a failing card. These repeated read cycles have often pushed the card's controller or NAND memory past the point of no return, turning a once-recoverable case into a permanent loss. Creating an image first is the single most important action you can take to maximize the chances of a successful recovery.
Professional Tools for Creating a Safe Disk Image
Standard file copy utilities are insufficient for this task. You need specialized software designed for forensic imaging.
- FTK Imager: This is a powerful, free forensic utility that we often recommend for users with the technical confidence to create an image. It is designed to create exact copies of media and can handle read errors, attempting to capture every possible bit of data from a failing device.
- dd (for macOS and Linux): This command-line tool is built into Unix-like operating systems. It is extremely powerful but also unforgiving; a syntax error can result in wiping the wrong drive. A sample command might be
sudo dd if=/dev/rdiskX of=~/Desktop/sd-card-image.img bs=1m, where/dev/rdiskXmust be correctly identified as the SD card. Use with extreme caution.
The Imaging Process as a Diagnostic Tool
The imaging process itself provides critical diagnostic information. Pay close attention to the software's behavior.
If the imaging tool reports numerous read errors, hangs for extended periods, or slows to a near-stop, this is a strong indicator of physical damage, likely failing NAND memory cells. Conversely, a smooth and error-free imaging process suggests the problem is purely logical.
If the card repeatedly disconnects, if the imaging software cannot lock the device, or if the process fails entirely, stop immediately. These are classic symptoms of a severe physical or firmware-level failure. Further attempts will only exacerbate the damage. At this point, the best chance for recovering your photos is professional intervention. MDRepairs offers nationwide mail-in diagnostics to accurately identify the failure and propose a safe, lab-based recovery plan.
Using DIY Photo Recovery Software The Right Way
With a secure, sector-by-sector image of your SD card saved on a healthy drive, you can now attempt a software-based recovery. It is essential to approach this step with realistic expectations. Recovery software is a powerful tool for logical data loss scenarios but is not a solution for physical or firmware failures.
The paramount rule is to never run recovery software directly on the original SD card. Always direct the software to scan the disk image file you created. This isolates your fragile card from any potentially harmful read/write operations, preserving the original data integrity should professional services be needed.
How Photo Recovery Software Actually Works
Data recovery software like the open-source tool PhotoRec operates by ignoring the damaged or corrupted file system. Instead, it scans the raw data within the disk image, searching for known file signatures (headers and footers) that mark the beginning and end of specific file types. For example, a JPEG file has a distinct hexadecimal signature that identifies it as such.
When the software finds a matching header, it "carves" out the subsequent data until it encounters the corresponding footer, saving this block as a recovered file.
This file carving process has specific consequences:
- Generic File Names: Original file names and folder structures are part of the file system, which has been bypassed. The software will assign generic names like
f12345.jpgorrecup_dir.1/doc001.raw. - File Fragmentation: If a large photo was stored in non-contiguous blocks on the card (a common occurrence), the software may only recover the first fragment or incorrectly piece together unrelated fragments, resulting in a corrupted or partially visible image.
A Realistic Assessment of Success Rates
While software can be effective for accidental deletions or minor file system corruption, its limitations are significant. Data loss from memory cards is a widespread issue; approximately 63% of users have experienced it. A full 2020 survey from CleverFiles revealed that while 49% of users attempted DIY software recovery, their success rates were considerably lower than the 28% who engaged a professional service from the outset.
The reason for this disparity is straightforward: consumer software is entirely incapable of addressing hardware failures.
A Note From Our Lab: Software cannot repair physical damage. If an SD card's controller chip has failed or its NAND memory has degraded, no software scan can retrieve the data. Recovery software requires a healthy, communicating device to function, which is precisely what is absent in a physical failure scenario.
Knowing When to Stop and Escalate to a Professional
The DIY software step should be viewed as much as a diagnostic tool as a recovery attempt. The quality and completeness of the recovered data provide crucial information about the underlying health of the card.
It is time to cease DIY efforts and seek professional evaluation if:
- The software completes its scan but finds no recoverable photos.
- The recovered photos are all corrupted, fragmented, or cannot be opened.
- The recovery program cannot parse or open the disk image file you created.
Encountering any of these outcomes is a clear indication that the problem extends beyond simple logical corruption. Running additional software will not yield a different result. This is the point at which our nationwide mail-in diagnostics at MDRepairs provide value. A professional evaluation can determine if the failure lies with the controller, firmware, or NAND memory itself - problems that require specialized lab equipment and expertise to resolve.
Knowing When to Stop: When DIY Recovery Is a Bad Idea
While software is effective for logical issues, the most critical skill in data recovery is knowing when to stop. Persistently attempting to access a physically failing SD card with software can cause irreversible damage, transforming a recoverable situation into a permanent data loss.
Recognizing the clear signs of hardware failure early can save you time, prevent frustration, and, most importantly, preserve the integrity of your data. If you observe any of the following symptoms, power down all devices and cease all recovery attempts immediately.
The Unmistakable Signs of Hardware Failure
If your SD card exhibits any of these behaviors, it is experiencing a physical or firmware-level failure that no software can remedy.
- The Card Is Not Detected: The device is completely invisible to your computer or camera. It does not appear in Disk Management (Windows) or Disk Utility (macOS), and no drive letter is assigned.
- It Reports an Incorrect Capacity: The card is detected but shows a nonsensical size, such as 0MB, 8MB, or another unusually small number. This is a classic symptom of a failed controller chip that can no longer correctly interpret the NAND memory.
- Your System Freezes or Crashes: Upon inserting the SD card, your computer becomes unresponsive, locks up, or experiences a system crash. This often indicates a severe electrical fault or controller failure that overwhelms the operating system's drivers.
These symptoms point to a problem with the card's internal hardware - the controller, the NAND flash memory, or the firmware that orchestrates their operation.
A Note From Our Lab: We often describe a failed SD card controller as a lost key to a vault. Your photos are still inside the vault (the NAND memory), but without the key, there is no way to access them through conventional means. Recovery software is designed to work with the lock, not to bypass the vault door itself.
Why Software Cannot Fix a Broken Controller
Every SD card contains two primary components: the controller chip (the processing unit) and the NAND flash memory (the storage medium). The controller is responsible for managing data placement, error correction, and communication with the host device.
When this controller fails, the raw data on the NAND chips becomes inaccessible, even though it is often still intact. This is a critical distinction: your photos are not gone, they are simply trapped. No software application can repair a failed hardware component. Professional recovery for these cases often requires a "chip-off" procedure, where a technician physically de-solders the NAND memory chip to read its contents directly, completely bypassing the failed controller. An excellent explanation of this process can be found in this PetaPixel article.
The Only Viable Solution for Hardware Failure
For physical failures, the only effective recovery path is through a professional data recovery laboratory. At MDRepairs, our engineers utilize specialized hardware like the PC-3000 Flash to interface directly with the NAND memory, bypassing the non-functional controller.
The process is highly technical and involves several stages:
- Microsoldering: In a Class 100 clean-room environment, we carefully de-solder the tiny NAND memory chips from the SD card's printed circuit board.
- Direct Reading: The chips are placed in a specialized reader that extracts the raw, scrambled data without relying on the original controller.
- Data Reconstruction: This is the most complex phase. Our engineers use advanced algorithms to reverse-engineer the controller's data-mixing patterns (such as XOR scrambling), apply error correction, and rebuild the file system to reconstruct your photos.
This level of intervention is impossible to perform outside of a dedicated lab environment. If you've encountered the signs of hardware failure, the best course of action is to seek a professional evaluation. MDRepairs offers mail-in diagnostics from anywhere in the U.S., including our local New York data recovery lab, providing a clear, no-risk assessment of recoverability.
What Happens at a Professional Data Recovery Lab?
When DIY software recovery is unsuccessful, it signifies that the problem is beyond the scope of software-based solutions. A professional data recovery lab like MDRepairs employs entirely different methods that address the root cause of the failure at the hardware level. We aren't simply running a different program; we are performing micro-electronic surgery on the device itself.
The most common reason for software failure is an underlying hardware issue, typically a failed controller chip. When this chip fails, your photos remain on the NAND memory, but they are inaccessible to any standard computer or camera interface.
Bypassing the Broken Controller
Every case begins with a professional diagnosis to pinpoint the exact point of failure. This evaluation determines whether the issue is a complex logical corruption or a physical component failure. This diagnostic is always covered by our no data, no charge policy - if we cannot recover your data, there is no charge for the recovery attempt.
For hardware failures, our engineers use highly specialized tools like the PC-3000 Flash. This equipment allows us to bypass the failed controller and communicate directly with the NAND memory chips where your photos are stored.
The recovery process follows one of two primary paths:
- Adapter-Based Recovery: In some cases, the internal data lines on the card's circuit board are intact. We can use proprietary adapters to read the raw data from the NAND chips without removing them.
- Chip-Off Recovery: For more severe physical damage, this is often the only viable method. The process involves de-soldering the NAND memory chips from the circuit board using microsoldering equipment in a dust-free clean-room environment to prevent contamination and further damage.
Rebuilding Your Photos from Raw Bits
Extracting the raw data dump from the NAND chips is only the beginning. The data is not organized as photo files; it is a scrambled mix of binary data, intentionally disorganized by the controller's proprietary algorithm to manage wear-leveling. Our engineers must then solve this complex puzzle.
The reconstruction process involves:
- Unscrambling the Data (XOR): We reverse-engineer the controller's unique data-mixing algorithm to reassemble the data in the correct order.
- Applying Error Correction (ECC): We apply the controller's original error correction code algorithms to fix bit-level errors that naturally occur in flash memory.
- Rebuilding the File System: With a clean, unscrambled data set, we logically reconstruct the original file system to restore your photos with their original quality and metadata.
This intricate, hardware-based approach is why professional recovery succeeds where software fails. We address the root physical or firmware problem to rebuild the data from its most fundamental level.
A Realistic Look at Success Rates
The data recovery industry often advertises success rates that can be misleading. An average rate of 78% may be skewed by companies that only accept straightforward, logical recovery cases.
A more accurate measure of a lab's capability is its success rate with physically failed devices. Reputable labs that specialize in complex cases, including chip-off recoveries, typically report success rates in the 94-97% range for SD cards. For more context on this topic, see this analysis of data recovery success rates.
At MDRepairs, we provide a transparent and honest assessment from the start. Whether you need data recovery in California or are using our nationwide mail-in service, our initial diagnostic will give you a clear understanding of the recovery potential.
Protecting Your Photos from Future SD Card Failure
Experiencing data loss is stressful, and the best recovery is one that is never needed. By adopting professional workflow habits, you can significantly reduce the risk of future SD card corruption and data loss. Many of the cases we receive at our lab stem from preventable issues related to card handling and backup practices.
Cultivating Safer Card Handling Habits
Implementing small, consistent changes in how you handle your memory cards can dramatically improve their longevity and reliability. These practices are standard procedure for professional photographers who cannot afford data loss.
- Format in Camera, Every Time. Before each shoot, format your SD card in the camera you will be using. Formatting a card on a computer can create a file structure that is not perfectly aligned with the camera's firmware, a common cause of corruption.
- Always Use "Safely Eject." Never physically remove a card reader or device from a computer without first using the operating system's "Eject" or "Safely Remove Hardware" function. Abruptly disconnecting a card during a background write operation is a leading cause of file system damage.
- Avoid Filling Cards to Capacity. Pushing a card to 100% capacity can increase the likelihood of file system errors and accelerates wear on the NAND memory cells. It is safer to swap to a fresh card before the current one is completely full.
Rethinking Your Storage Strategy
The equipment you use plays a significant role in data integrity. A single point of failure can jeopardize an entire project.
Lab Insight: We strongly advise against using a single, high-capacity SD card for critical events like a wedding or commercial shoot. If that one card fails, the entire session is lost. Using several smaller-capacity cards distributes the risk; a single card failure will only affect a portion of the work.
Furthermore, not all SD cards are manufactured to the same quality standards. Failure rates vary significantly between brands and models. Independent analysis has shown some card models having failure rates as high as 17%, while others are as low as 3%. Investing in high-quality media from reputable manufacturers is a crucial preventative measure.
Implementing a Bulletproof Backup System
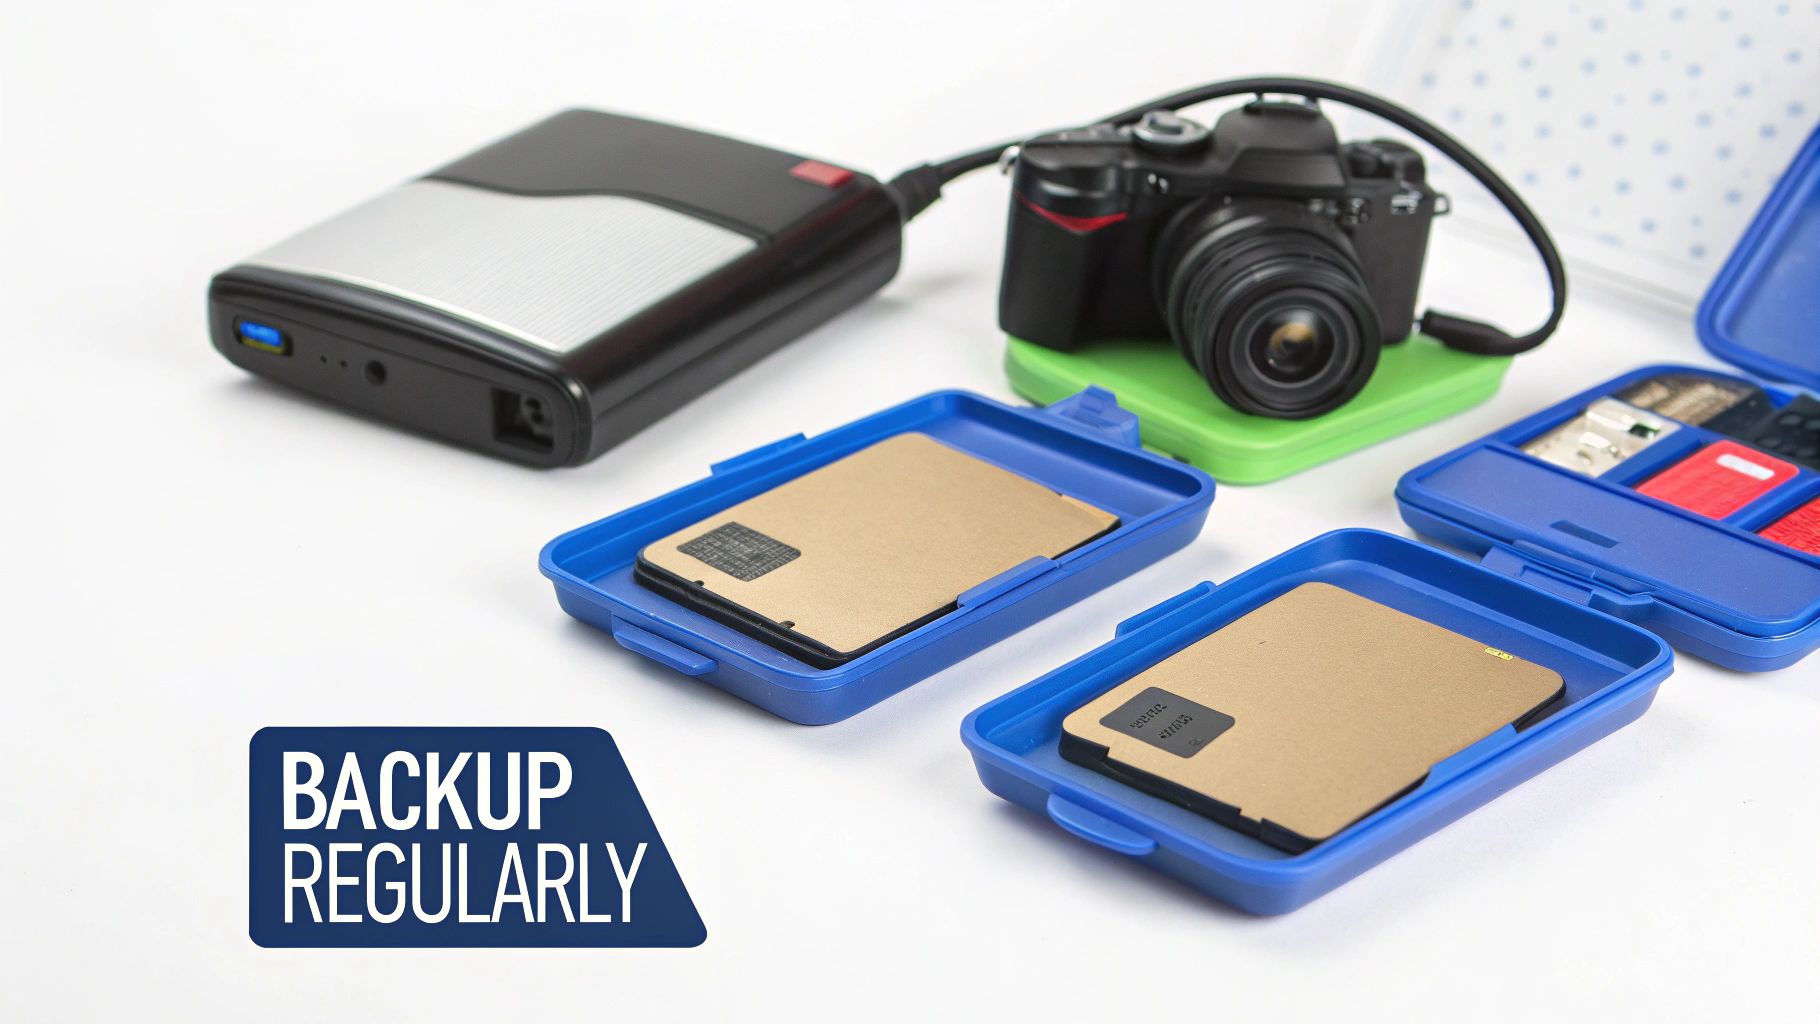
Ultimately, the most effective defense against data loss is a robust and consistent backup strategy. All hardware will eventually fail; it is a matter of when, not if. A proper backup system transforms a potential disaster into a minor inconvenience.
The industry standard for data protection is the 3-2-1 Rule:
- Maintain at least three copies of your important data.
- Store these copies on two different types of media (e.g., an internal computer drive and an external SSD).
- Keep one copy in an off-site location (e.g., cloud storage or a physical drive stored at a different address).
This redundancy protects your data from nearly any conceivable event, from hardware failure to fire or theft. Proactive data management is paramount; learning the best way to store photographs ensures your valuable images are preserved for the long term.
How to Get Photos From a Corrupted SD Card Safely
If your goal is to get photos from a corrupted SD card, the first rule is simple: do not try to repair the card before the photos are copied or imaged. Many repair prompts from Windows, macOS, cameras, and phones are designed to make the card usable again, not preserve every recoverable file. Formatting, running file system repair, or saving new photos to the card can overwrite directory records, thumbnails, raw image fragments, and deleted file entries.
Start by removing the SD card from the camera, phone, drone, or recorder and leave the write-protect switch locked if it has one. Use a reliable card reader connected directly to the computer. If the card mounts, copy the most important folders first, usually DCIM, PRIVATE, MISC, or camera-specific folders. Do not drag files back onto the same card. If the copy stalls, disconnects, or repeatedly slows to zero, stop. That behavior can mean the NAND memory is failing, not just that the file system is damaged.
If the card asks to be formatted, shows the wrong capacity, appears as RAW, or only shows partial folders, do not format it. A lab approach is to make a sector-level image of the card or access the memory directly when the controller is failing. Recovery software can help only when the card is stable enough to read and the corruption is mostly logical. It can make matters worse if it keeps hammering a card with bad memory blocks until the controller stops responding.
For valuable photos, especially wedding, travel, client, drone, or professional camera work, the safest process is to preserve the card exactly as it is and recover from a copy or lab image. MDrepairs handles SD, microSD, CF, CFast, XQD, and camera media through our memory card recovery service. If you are unsure whether the card is physically failing, use a free phone consult before trying software.
Frequently Asked Questions
Should I format a corrupted SD card if I need the photos?
No. Formatting may create a new file system and overwrite information needed to rebuild folder structure, filenames, and photo sequences. Even a quick format can reduce recovery quality. If the card asks to be formatted, cancel the prompt, remove the card, and recover the photos from an image or through a lab process.
Can recovery software get photos from a corrupted SD card?
Sometimes. Software can work when the card reads consistently and the corruption is limited to the file system. It is risky when the card disconnects, shows the wrong size, freezes the computer, or becomes very slow. Those symptoms suggest physical NAND or controller trouble, where repeated software scans can make the card less readable.
How MDrepairs can help
Real cases like this come through our New Jersey lab every week. If you are dealing with one now, start here.
- Flash Drive & USB Data Recovery Chip-off recovery from snapped and unreadable USB drives. Learn more
- Data Recovery Services Every device and failure type, recovered in our New Jersey lab. Learn more
- Hard Drive Data Recovery Mechanical, firmware and logical HDD recovery on every brand. Learn more
- SSD Data Recovery Controller, NAND and firmware recovery for SATA, M.2 and NVMe SSDs. Learn more


