
How to Recover Deleted Files From a USB Flash Drive
In this article
The sinking feeling when a crucial file vanishes from your USB drive is a scenario our lab diagnoses every day. One moment the file is there; the next, it's gone. While accidental deletion is a common cause, files can also disappear due to file system corruption, unsafe ejection, or an underlying electronic fault.
Understanding the cause of the data loss is the first critical step toward a successful recovery.
It’s a common misconception that deleting a file erases it completely. In reality, the drive’s file system simply marks the space that file occupied as "available." Until new data is written over that exact spot, your data remains dangerously recoverable. This principle is what makes data recovery possible.
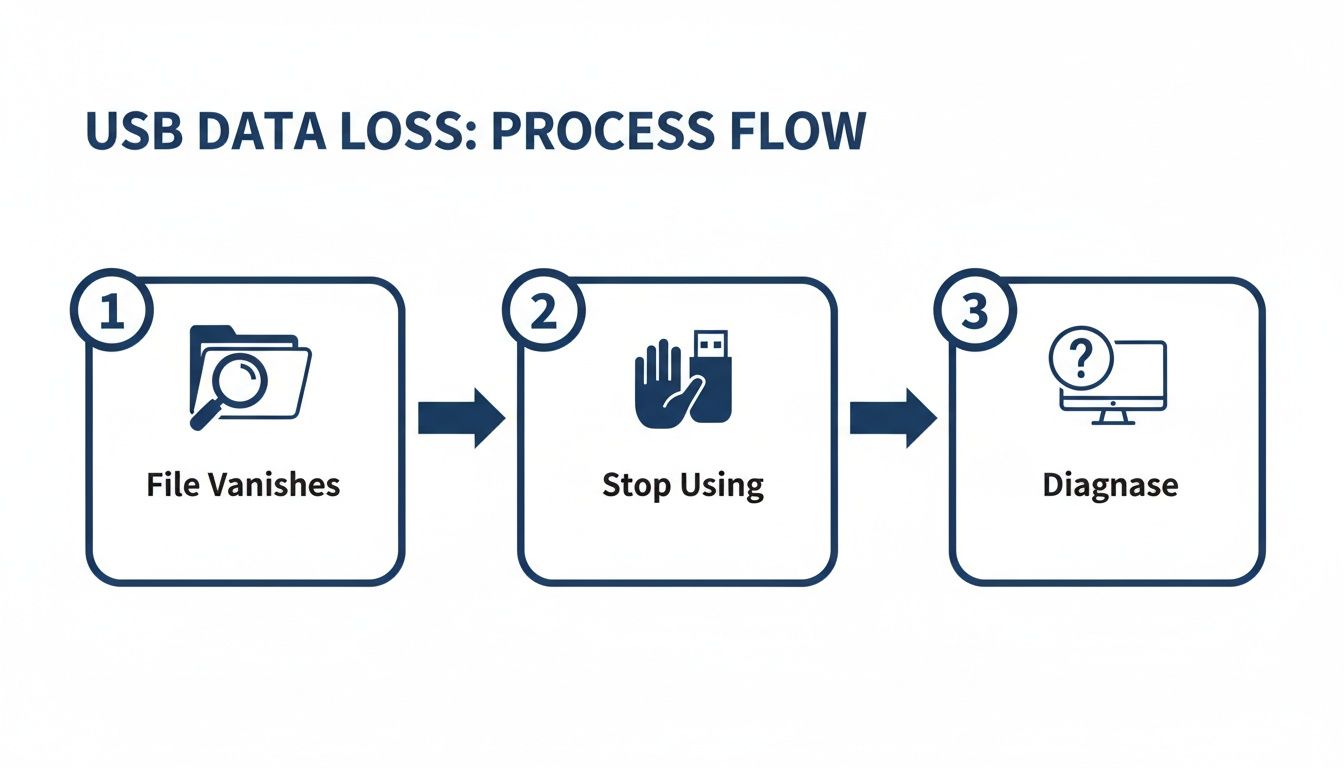
What Happens When Files Vanish From a USB Drive
The moment you realize data is missing, your primary objective is to prevent that "available" space from being overwritten.
The Most Important First Step You Can Take
Even seemingly harmless actions, like browsing the remaining files on the drive, can create temporary log files that could permanently destroy the very data you’re trying to save.
Crucial Takeaway: Unplug the drive. Safely eject it immediately and do not plug it back in. Do not save anything new to it, and absolutely do not format it, regardless of any prompts from your computer. Every action from this point will either improve or diminish your chances of recovery.
By isolating the drive, you are essentially freezing it in its current state. This gives recovery software - or a professional lab like MDRepairs - the best possible opportunity to find and reconstruct the lost files.
Differentiating Between Logical and Physical Issues
Now, perform a quick mental check. Did you knowingly delete the file, or was the drive malfunctioning beforehand? The answer is key, as it separates a logical issue you might resolve yourself from a physical failure that requires professional intervention.
Here are the most common failure scenarios we encounter with USB flash drives:
- Accidental Deletion: The classic "oops." You selected a file and pressed 'Delete' or emptied the Recycle Bin while the drive was connected. This is the most common and often the most straightforward type of logical recovery.
- File System Corruption: Your computer suddenly cannot read the drive. It might appear as a "RAW" volume or prompt you to "Format disk before you can use it." This is a classic symptom of a logical failure, often caused by unplugging the drive without using the "Safely Eject" function.
- Virus or Malware Activity: Malicious software can delete, encrypt, or hide your files without your knowledge.
- Physical or Electronic Failure: This is a serious hardware issue. The drive is not detected by any computer, it becomes unusually hot, or the connector is physically damaged. These are clear indicators that software cannot resolve the problem.
If you observe any signs of physical damage or electronic failure, stop. Running recovery software on a physically failing drive is like attempting to run a marathon on a broken leg - you will only cause more severe damage.
For these cases, the safest course of action is a professional evaluation. MDRepairs provides nationwide mail-in diagnostics to safely determine the drive's health and recoverability under a no data, no charge policy.
A Safer Way to Use USB File Recovery Software
When a file vanishes from your USB drive, the initial instinct is often to download the first recovery tool found online. This is a natural reaction, but it is also one of the riskiest. Every action performed on that drive - even a simple scan - writes small amounts of new data, which can land directly on top of the "deleted" file you are trying to recover.
The single most important rule in data recovery, whether for DIY attempts or in a professional lab, is: never perform recovery operations directly on the affected USB drive. The professional standard is to work from a byte-for-byte copy, known in the industry as a disk image. This methodical approach is often what separates a successful recovery from permanent data loss.
The Power of a Disk Image
A disk image is a perfect, byte-for-byte clone of your entire USB drive. It captures not just your visible files but everything - the file system structure, the unallocated space where deleted files still reside, and all intact data - into a single, large file. This image file is saved to a stable location, such as your computer's internal hard drive, and the original USB drive is set aside.
Working from an image provides a significant tactical advantage:
- It’s Non-Destructive: You can run multiple scans with different programs on the image file without ever altering the original USB drive. The source data remains pristine.
- It Protects Failing Drives: If the USB drive is physically unstable, every second it is powered on is a gamble. Creating an image is a one-time read operation that extracts all data from the potentially failing device before it fails completely.
- It Gives You Multiple Attempts: If the first program fails to find your file, you can simply point a different tool at the same, untouched image file. Without an image, each failed scan on the original drive risks overwriting your data permanently.
Professional Insight: In our laboratory, creating an image is the mandatory first step for any logical recovery case. It is a non-negotiable procedure that isolates the original device from any further harm.
Choosing the Right Kind of Software
Not all recovery tools are created equal. Many free and low-cost programs are designed for superficial scans and often lack the crucial ability to work from a disk image.
When selecting software, look for one that explicitly offers a "Create Image" or "Clone Drive" feature. This is the hallmark of a serious, professional-grade utility. Performance also varies significantly. A 2024 academic study found that while Puran File Recovery achieved an 88.89% success rate in approximately five minutes, a tool like EaseUS Data Recovery only reached 77.78% and took nearly twice as long. These details are critical when your files are at stake. You can review the methodology and findings to see how differently these tools perform under controlled conditions.
Before running any tool, follow this safety checklist to avoid common mistakes that can worsen the situation.
Recovery Software Safety Checklist
| Action | Why It's Critical |
|---|---|
| Install software on your PC, not the USB | Installing any program on the affected USB drive will immediately overwrite potentially recoverable data. |
| Create a sector-by-sector disk image first | This preserves the original state of the drive and allows for multiple, non-destructive recovery attempts. |
| Confirm the image was created successfully | A corrupted or incomplete image is useless. Ensure the process finishes without errors before proceeding. |
| Safely eject and store the original USB drive | Once the image is created, the original drive's role is complete. Store it in a safe place to prevent accidental use. |
| Scan the image file, not the physical drive | All your recovery attempts should be directed at the image file saved on your computer. |
| Save recovered files to a different drive | Never save recovered data back to the image file or the original USB. Always choose a new, safe location. |
Following these steps dramatically increases your chances of a successful outcome by mirroring the best practices used in professional data recovery labs.
A Safe Recovery Workflow, Step-by-Step
Once you have a reputable tool capable of creating a disk image, the process is straightforward. Here is a simplified version of the workflow we use for logical data loss scenarios:
- Install the software on your computer's main drive (e.g., C: drive). Never install it on the USB stick you are recovering from.
- Create the disk image. Connect the USB drive, open the software, locate the imaging function, and create a full sector-by-sector image. Save the large image file to a location on your computer with ample free space.
- Eject and store the original USB. Once image creation is complete and verified, safely eject the physical USB drive and set it aside.
- Scan the image file. Within the recovery software, use the function to open or load an image file. Point it to the file you just created and run a deep scan on the image.
- Preview and save your files. Once the scan finishes, review the list of found files. Use the preview feature to verify their integrity. Finally, save the needed files to a completely different location, such as your desktop or another external drive.
Know the Software's Limits
It is crucial to have realistic expectations. File recovery software is a powerful tool, but it is only effective for logical failures - such as accidental deletion, quick formatting, or minor file system corruption on an otherwise healthy device.
Software is completely ineffective for physical problems, including:
- Physical Damage: A bent connector, a cracked circuit board, or water damage.
- Electrical Failures: A controller chip damaged by a power surge.
- Firmware or Controller Issues: The drive is not detected, shows an incorrect size (e.g., 8MB), or is extremely slow and unresponsive.
If your USB drive exhibits any of these symptoms, running software will not help and could cause further damage. These are problems that require cleanroom environments and component-level repairs. For a definitive diagnosis, it is best to have the device professionally evaluated. MDRepairs offers nationwide mail-in diagnostics to pinpoint the exact issue and outline the safest recovery path.
Understanding What's Wrong With Your USB Drive
Before attempting to run any recovery program, it is essential to diagnose the failure type. Not all USB drive problems are the same, and treating a physical issue as a logical one can quickly lead to irreversible data loss.
In our lab, every case begins with a precise diagnosis. Is the hardware failing, or is it a problem with the data structure? The symptoms your drive exhibits are clues that point directly to the root cause. A drive with an accidentally deleted file behaves completely differently from one with a failed controller chip. Identifying which scenario you are facing is critical.
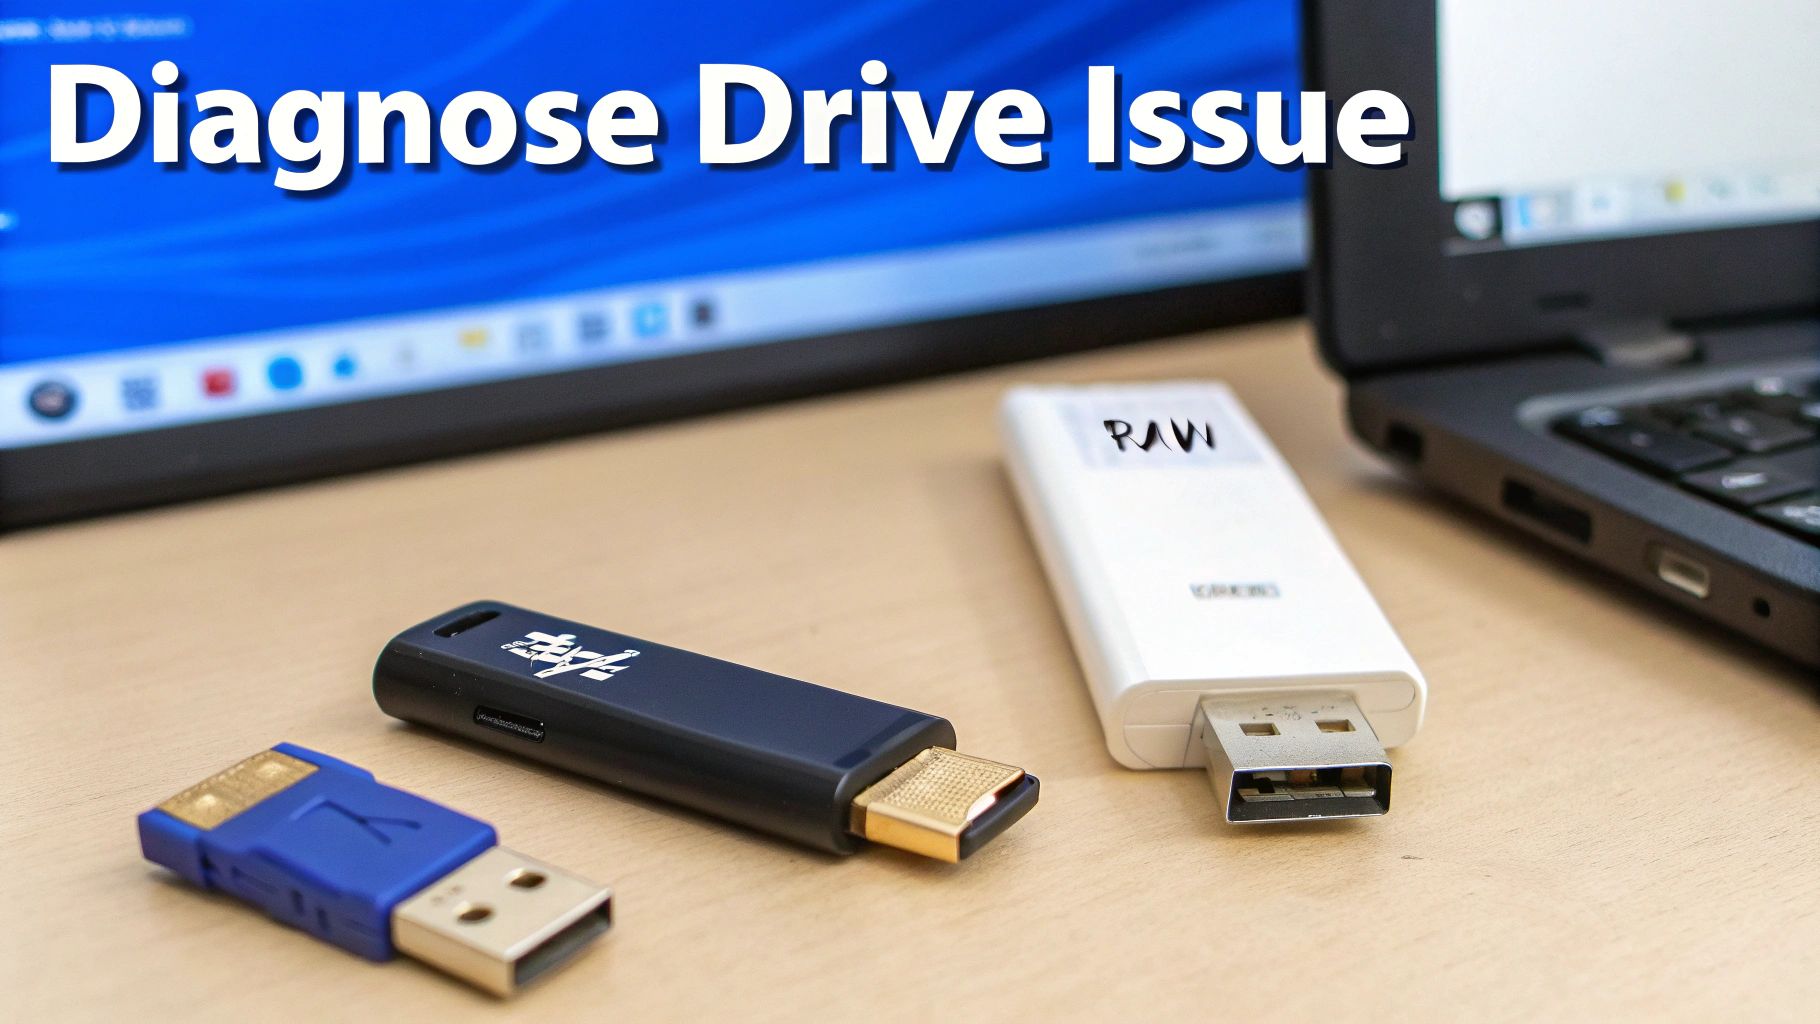
Logical Failures: The Software-Solvable Problems
Logical failures are related to the data structure, not the physical components of the drive. The hardware is functional, but the files and folders have become corrupted, disorganized, or inaccessible. These are the only problems for which data recovery software should be used.
Classic examples of logical issues include:
- Accidental Deletion or Formatting: You clicked "delete" on the wrong folder or mistakenly formatted the drive.
- File System Corruption: The drive suddenly appears as "RAW," or your computer insists on formatting it. This often results from removing the drive without using the "Safely Eject" option.
- Virus or Malware Infection: Malicious software has deleted, hidden, or encrypted your files.
If you are facing one of these issues, your computer likely still recognizes the drive, reports the correct storage capacity, and the device is not making unusual noises. This is a green light to attempt a DIY recovery, provided you create a disk image first.
Physical and Electrical Failures: A Clear Stop Sign
This category is straightforward: if any part of the drive is physically broken, stop immediately. No software can fix broken hardware, and attempting to force a scan on a damaged drive can cause electrical shorts that destroy the NAND memory chips holding your data.
Unplug the drive immediately if you notice any of these red flags:
- Broken or Bent Connector: The metal USB plug is loose, bent, or has snapped off.
- The Drive Is Not Detected: No computer recognizes it. Plugging it in does nothing or causes the system to freeze.
- Becomes Excessively Hot: The drive becomes unusually hot to the touch moments after being plugged in.
- Visible Damage: You can see cracks in the casing or damage to the circuit board, perhaps from being dropped or stepped on.
A Note From Our Lab: A broken connector is one of the most common physical failures we see. This is not a software problem; it is a hardware repair requiring a microscope and micro-soldering equipment to re-establish connections without damaging the data lines.
Firmware and Controller Failures: The Deceptive Problems
This is where diagnosis becomes more complex. A drive’s firmware is its internal operating system, and the controller chip is the brain managing data flow. When one of these fails, the symptoms can be strange and often mimic logical failures.
You may be dealing with a firmware or controller issue if:
- The Size Is Incorrect: Your 64GB drive suddenly reports its capacity as 8MB or another nonsensical number.
- "Please Insert a Disk" Error: Windows detects that a device is connected but treats the drive like an empty port.
- Constant I/O Errors: You can see your files, but any attempt to open or copy them results in a persistent error message.
These are not logical problems, and consumer software is completely ineffective against them. In our lab, we bypass these issues using specialized hardware like the PC-3000, which allows us to interface directly with the drive's firmware and access the raw data on the NAND chips. It is a process far beyond the capabilities of downloadable software.
Understanding these distinctions is why our professional data recovery work in California and across the U.S. always begins with a thorough, hands-on diagnostic.
Conventional vs. Monolithic Drives
The physical construction of the drive also matters significantly. Most older or larger USB drives are conventional, featuring a printed circuit board (PCB) with NAND memory chips clearly soldered onto it. These are relatively straightforward for a professional to work on.
However, many modern drives are monolithic. All components - the controller, memory, and supporting circuitry - are integrated into a single, solid black block. There are no separate chips to access. To recover data from a failed monolithic drive, we must meticulously abrade layers of the casing to expose microscopic contact points - an incredibly delicate process that makes the recovery far more complex.
Flash media is ubiquitous. One study showed that USB drive recoveries constituted nearly 26% of all cases at a professional lab, with a high 92.8% success rate. This success is largely attributed to conventional drives. As you can discover more insights about these recovery statistics, it becomes clear that understanding the drive's construction helps set realistic expectations.
When to Call in the Pros: Recognizing a Lost Cause for DIY
While data recovery software is a viable first step for simple file deletions, knowing when to stop a DIY attempt is the most critical part of the process. We have seen countless cases where a user runs scan after scan on a failing drive, hoping for a different result, only to push the device past the point of no return.
The line between a software fix and a lab-level repair is generally clear if you know the warning signs. If your situation seems more serious than an accidental deletion, a professional data recovery service is the safest option. The moment you suspect a physical or electronic problem, the only correct action is to unplug the drive and seek expert help.
Red Flags That Scream "Stop Now!"
Some symptoms are not mere glitches; they are clear warnings of severe hardware failure. If your USB drive exhibits any of the following, stop immediately. No software can resolve these issues, and further attempts will likely cause more damage.
- It’s Not Detected: You plug the drive in, and nothing happens. It does not appear in My Computer, Disk Management (Windows), or Disk Utility (macOS). You have tried different computers, but it remains completely invisible. This usually indicates a dead controller chip, a broken connection, or another internal electronic failure.
- The Capacity is Incorrect: Your 128GB drive suddenly reports its size as 8MB or even 0MB. This is a classic symptom of firmware corruption. The drive's internal operating system has failed and can no longer report its true capacity.
- It Becomes Extremely Hot: The drive gets alarmingly hot almost immediately after being plugged in. Unplug it right away. This strongly suggests a short circuit on the PCB, which can permanently damage the NAND memory chips if left powered on.
- There is Obvious Physical Damage: If the connector is bent, the casing is cracked, or the device shows clear signs of physical trauma, it requires repair in a professional lab environment.
A Note From Our Lab: From our experience, the single greatest cause of preventable, permanent data loss occurs when users keep a drive with these symptoms powered on. A short circuit can literally cook the NAND memory, making recovery impossible for anyone.
The Right Tool for the Job: Software vs. Lab
It can be difficult to determine if your specific problem is suitable for a DIY attempt or requires a specialist. This table breaks down the most common scenarios we see.
Software Recovery vs Professional Lab Recovery
| Symptom / Scenario | DIY Software Suitable? | Professional Lab Required? |
|---|---|---|
| Accidentally deleted files | Yes | No |
| Formatted the wrong drive | Yes | No |
| Mild file system corruption (drive asks to be formatted) | Maybe | Yes, if software fails |
| Drive is not detected at all | No | Yes |
| Shows incorrect size (e.g., 8MB) | No | Yes |
| Makes clicking or beeping sounds (if it's a microdrive) | No | Yes |
| Gets extremely hot when plugged in | No | Yes |
| Visible physical damage (bent connector, cracks) | No | Yes |
| Virus infection deleted files | Yes | No, unless it also caused firmware damage |
Ultimately, if the drive is physically healthy but you made a logical error (like deleting a file), software is a reasonable option. If the drive itself is failing, it requires a specialist, not a software patch.
What Really Happens Inside a Data Recovery Lab
When a flash drive arrives at MDRepairs, our methodology is entirely different from running software. We are not simply scanning a file system; we are performing micro-surgery on the hardware to access the raw data directly from the memory chips.
This involves specialized techniques that are impossible to perform at home. Professional labs see an average success rate of around 78% across all device types, with USB drives often having even better outcomes. When a drive is physically damaged, we use advanced methods that bypass the problem entirely, which is why clients trust us with their critical data.
Advanced Techniques We Use
Our engineers utilize a toolkit of specialized hardware and software to bypass failed components like the controller chip or firmware.
- Chip-Off Recovery: This is our primary method for drives with dead controllers or severely damaged circuit boards. We carefully desolder the NAND memory chips from the board and place them in a specialized reader. This allows us to extract the raw data directly from the source, completely bypassing the broken electronics.
- Firmware Repair: We use tools like the PC-3000 Flash to communicate directly with the drive’s internal programming. This enables us to repair the corruption that causes it to report the wrong size or fail to mount, essentially hot-wiring the drive to access your files.
- Monolith Recovery: Many modern "all-in-one" flash drives present a challenge because all components are encased in a single block of epoxy. For these, we must perform microscopic surgery, carefully sanding away layers to expose hidden electronic test points. We then solder hair-thin wires to these points to build a new connection and read the data.
These are the reasons a professional lab can recover data when software cannot even detect the drive. Our New York data recovery lab is fully equipped for these complex cases. If you are seeing any of those red flags, the best course of action is to get a professional evaluation. We stand by our no data, no charge policy - you only pay if we recover the files you need.
Common Mistakes That Lead to Permanent Data Loss
In our years of professional data recovery, the most frustrating cases are not the most technically challenging ones. They are the cases where the data was perfectly recoverable until a simple, preventable mistake rendered it permanently lost. What you don't do immediately after discovering files are missing is often more important than what you do.
Think of it as digital first aid. A single misstep in the first few minutes can be the difference between a full recovery and a complete loss.
Mistake 1: Continuing to Use the Drive
This is the cardinal sin of data recovery. The moment you realize something is wrong, the instinct may be to browse other files or run a quick scan. Do not do this.
Every action - even viewing the contents of a folder - can write new information to the drive. These small write operations are playing a game of Russian roulette with the very sectors that hold your "deleted" files. Once that space is overwritten, the original information is gone forever.
The only correct first step is to stop. Safely eject the drive and do not plug it back in until you have a clear recovery plan.
Mistake 2: Formatting the Drive When Prompted
When a drive's file system becomes corrupted, Windows or macOS may display a message like: "You need to format the disk before you can use it." Clicking "Format" is equivalent to destroying the library's card catalog.
Formatting erases the file system's "map," which tells software where to find the constituent pieces of your files. While recovery after a quick format is sometimes possible, it becomes exponentially more difficult and less likely to succeed with original file names and folder structures intact.
Lab Perspective: We receive drives every week where a user clicked "Format" in a panic. This action turns a relatively straightforward logical recovery into a deep, time-consuming raw scan. We may recover the files, but often without their original metadata - just a jumble of data.
Mistake 3: Attempting Physical Repairs at Home
A bent connector or a loose casing may tempt you to "just wiggle it" or attempt a home repair. This is a recipe for disaster. Do not attempt physical repairs.
USB connectors are delicate, with tiny pins for data and power. A wrong move can create a short circuit, sending a fatal electrical surge to the NAND memory chips. This is often a point-of-no-return failure. Physical repairs require microscopes, micro-soldering tools, and extensive knowledge of electronics - all standard equipment in our lab.
Mistake 4: Saving Recovered Files Back to the Same Drive
This mistake is particularly heartbreaking because it occurs at the final stage. You run recovery software, see your files in the preview list, and, in a moment of relief, instruct the software to save them back to the same USB drive.
This action immediately begins overwriting the very data you are trying to rescue. As the first recovered file is written, it could be destroying the raw data for the second file on the list.
Always save recovered data to a completely different, stable location, such as your computer’s internal hard drive, another external drive, or a network share.
Avoiding these critical errors keeps your data in a recoverable state, giving you the best chance of success, whether you use software or consult a professional. If you feel any uncertainty, the safest action is to do nothing at all. Have the device professionally evaluated before a simple problem becomes a permanent one.
Your Top USB File Recovery Questions Answered
When a flash drive fails or files disappear, questions and concerns arise. Our engineers address these issues daily. Here are straightforward answers to the most common questions we hear from clients.
Is My Data Really Gone for Good?
Likely not, but swift action is required. Deleting a file does not immediately erase it. Instead, the drive's file system marks that space as "available" for new data. The original file data remains intact, though hidden, until it is overwritten.
The most important takeaway is this: stop using the drive immediately. Every second it remains plugged in, and especially if new files are written to it, you risk overwriting those "available" blocks and making your lost data permanently unrecoverable.
My Antivirus Deleted My Files. Can I Get Them Back?
Yes, this is a common occurrence. Overzealous antivirus programs, including Windows Defender, can sometimes misidentify a safe file as malicious and delete or quarantine it. Since this action bypasses the Recycle Bin, the file appears to vanish.
From a recovery standpoint, this is treated like any other accidental deletion. The data is usually still present. The key is to follow the same protocol: stop using the drive and work from a disk image to attempt the recovery safely.
What Does Professional USB Recovery Actually Cost?
There is no single price, as the cost is directly tied to the complexity of the failure - much like the difference between changing a flat tire and rebuilding an engine.
- Logical Recovery: If the drive is physically healthy but you accidentally deleted files or formatted it, the work is less intensive. This is the more affordable scenario.
- Physical/Electronic Recovery: This is where the process becomes complex. A broken connector, a failed controller chip, or internal memory degradation requires a different level of expertise. It may involve micro-soldering under a microscope or a "chip-off" recovery, which is more delicate, time-consuming, and therefore more costly.
At MDRepairs, our policy is straightforward: no data, no charge. We provide a full diagnostic and a firm price quote. You only pay if we successfully recover the data you need.
How Long Will I Have to Wait for Professional Recovery?
Our standard service typically takes a few business days from the time the drive arrives at our lab. This allows for a proper diagnosis, creation of a sector-level clone, and the actual recovery work.
We understand that some data is time-critical. For these situations, we offer rush and emergency service tiers. These options prioritize your case, often resulting in a turnaround of just 24-48 hours. Many of our business clients with critical deadlines rely on our expedited services. You can learn more about what we offer at our labs, including our Texas data recovery location.
The First Recovery Software Failed. Should I Try Another?
In most cases, no. If a high-quality recovery tool could not find your files after scanning a proper disk image, a second or third program is unlikely to yield a different result for a simple deletion. Most reputable tools use similar methods to scan for file signatures.
A failed first attempt is a strong indicator that the problem is not a straightforward deletion. You are likely dealing with a more complex issue like file system corruption or failing memory cells, which DIY software is not designed to handle. Running more scans, especially on the original failing drive, is one of the fastest ways to cause further damage.
If you have reached an impasse or your drive is showing signs of physical failure, the safest next step is a professional evaluation. MDRepairs offers free, no-obligation mail-in diagnostics for customers nationwide. We will determine the exact cause of the failure and explain what is required to get your data back. Start your case online today to receive a free shipping label to our lab.
How MDrepairs can help
Real cases like this come through our New Jersey lab every week. If you are dealing with one now, start here.
- SanDisk Data Recovery Monolithic recovery from SanDisk SD cards, USB and SSDs. Learn more
- Data Recovery Services Every device and failure type, recovered in our New Jersey lab. Learn more
- Hard Drive Data Recovery Mechanical, firmware and logical HDD recovery on every brand. Learn more
- SSD Data Recovery Controller, NAND and firmware recovery for SATA, M.2 and NVMe SSDs. Learn more


